
You don't need a perfect home.
You need a system that works!
I’m Amanda — a Certified Home Organizer® & LEAN Expert who coaches overwhelmed families through the clutter.
No judgment. Real systems. Lasting results.
About Us
Life Can Be Easy!
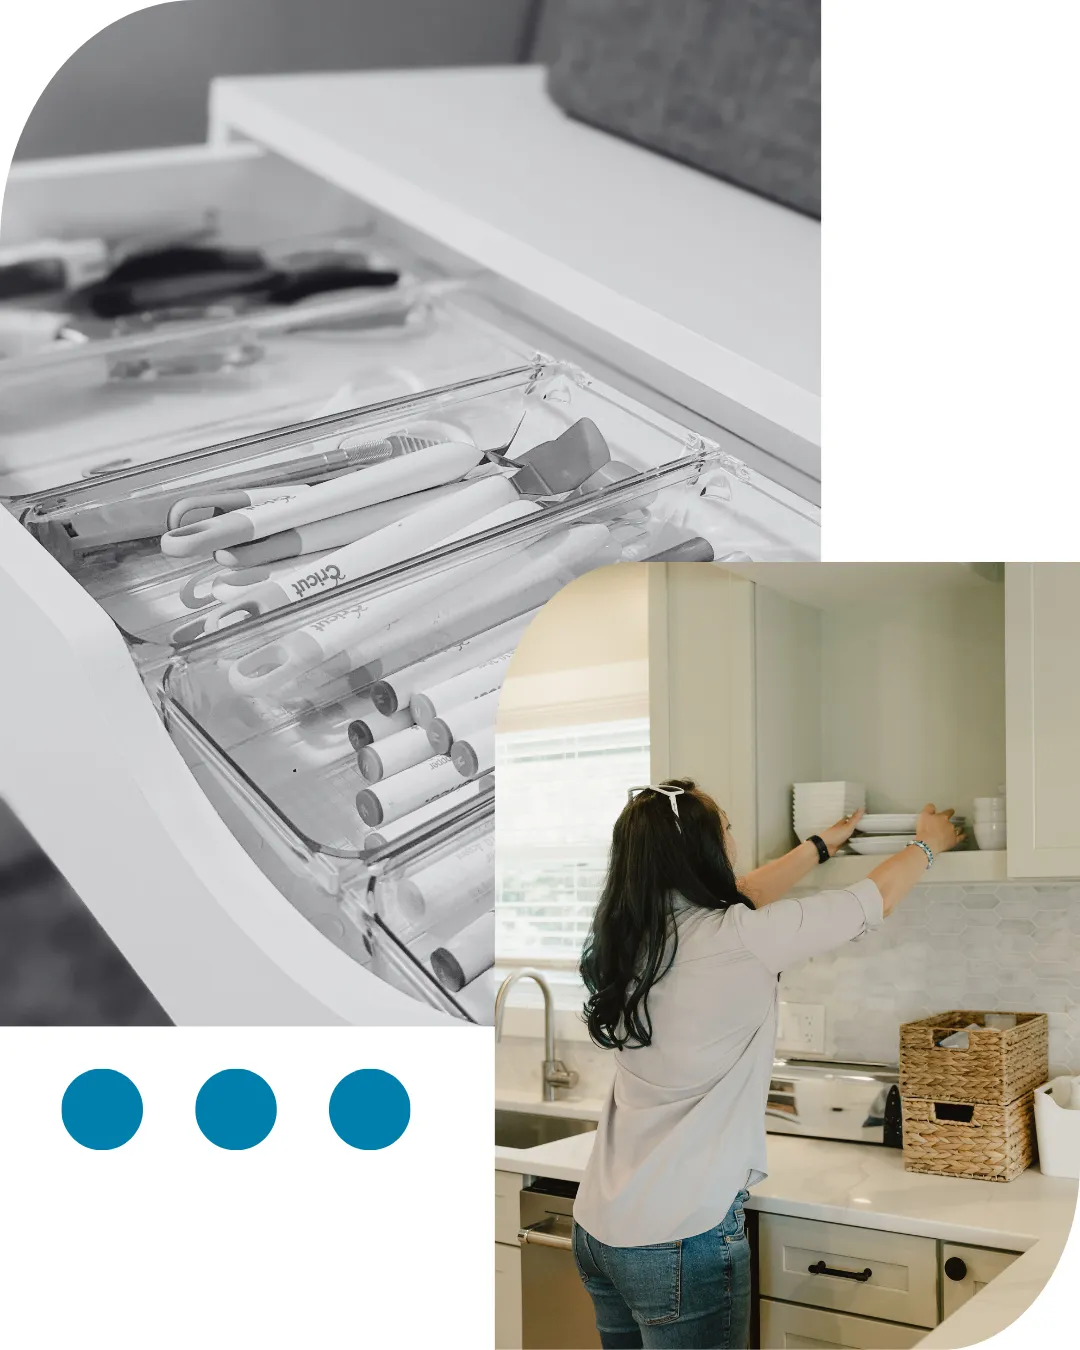
We are professional organizers who specialize in organizing your space and creating systems that work for you, not the other way around.
I started Easy Life Organizing because I believe getting organized shouldn’t
require a TV crew, a huge budget, or a picture-perfect home.
It should work for your real life — your brain, your family, your mess.
Why you'll LOVE working with me!

ZERO Judgment Guarentee
Life is messy. Especially with kids, work, and a brain that never stops. Whatever got you here, I’ve seen it — and I’m not here to judge it. I’m here to help you through it.

Systems That Actually Stick.
I don’t organize for Instagram. I build systems for real people who have ADHD partners, five-year-olds, and newborns. And if your brain works differently — ADHD, anxiety, overwhelm — I build systems that work for YOUR brain, not a generic template.
You’ll Know Where to Start.
The #1 thing people tell me stops them is not knowing where to begin. Every session, every visit, every program — I give you a clear starting point. No guessing, no overwhelm spiral. Just: start here, do this, then this.
Organizing for ADHD Brains
If you’ve tried to get organized before and it didn’t stick — it might not
be a motivation problem. It might be a systems problem.
Standard organizing advice was built for neurotypical brains.
It assumes you’ll remember where things go. That you’ll feel motivated
to maintain a system. That visual clutter won’t derail your entire day.
ADHD brains need different systems. Out-of-sight means out-of-mind.
Too many steps mean it won’t happen. Abstract categories mean nothing.
I build organizing systems that work WITH your brain, not against it.
Clear visual cues. Fewer decisions. Starting points that are obvious.
Systems that account for the days when executive function is just… not there.
I live with an ADHD husband. I understand this is not about trying harder.
It’s about finding what actually works for your specific brain.
Whether you have ADHD, suspect you might, or just know that standard
organizing advice has never worked for you — you’re in the right place.
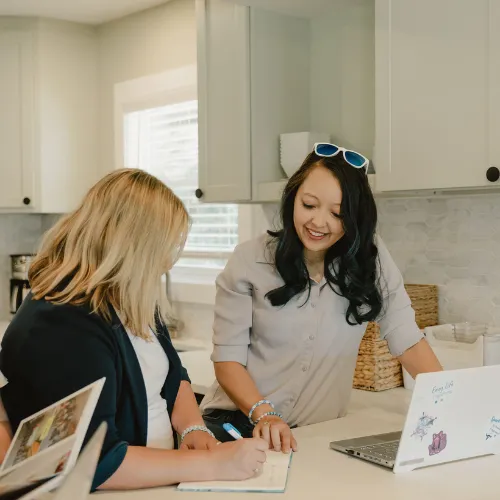
Meet Amanda

Amanda Liford is a Certified Home Organizer®, Certified LEAN Expert,
and Six Sigma Yellow Belt with years of experience organizing homes
and businesses across Michigan.
She’s also a mom of two — which means she doesn’t just teach you how
to get organized. She teaches you how to stay organized when real life
is happening all around you.
Amanda has a particular passion for helping neurodivergent families
and people who’ve been told they’re ‘just not organized people’ — because
she doesn’t believe that’s true. Everyone can be organized. They just
need systems that work for their brain.
She’s a member of NABPO, has spoken at conferences and seminars,
and hosts the podcast Talk Clutter to Me. When she’s not coaching clients, she’s navigating life with an ADHD husband, a six-year-old, and a baby — and yes, her home gets messy too.
Join Our Newsletter
Organizing Tips Every Month!
How did you hear about us?
Connect with us
Virtually EVERYWHERE!
© Copyright 2026. Easy Life Organizing. All rights reserved.
Privacy Policy
Terms and Conditions
Facebook
Instagram
Youtube